Training Guide 11
AI Cinema Studio — your footage, their camera
Every other video tool starts from a blank page. Cinema Studio starts from your material. Give it your product photos, a clip whose motion you like, or a piece of audio, describe the shot you want, and the model builds the video around what you handed it.
01 What Cinema Studio is
And when to use it instead of AI Video.
Cinema Studio is a reference-to-video tool. You are not describing a scene from nothing — you are pointing at things you supply and telling the model what to do with them.
Use AI Video when…
You want a shot invented from a sentence, or animated from a single still image. Nothing of yours needs to appear in it exactly.
Use Cinema Studio when…
A specific product, face, place or style has to carry through — or when you want to copy the camera movement from a clip you already have, or cut to a piece of audio.
02 The screen, explained
Set-up on the left, your finished shots on the right.
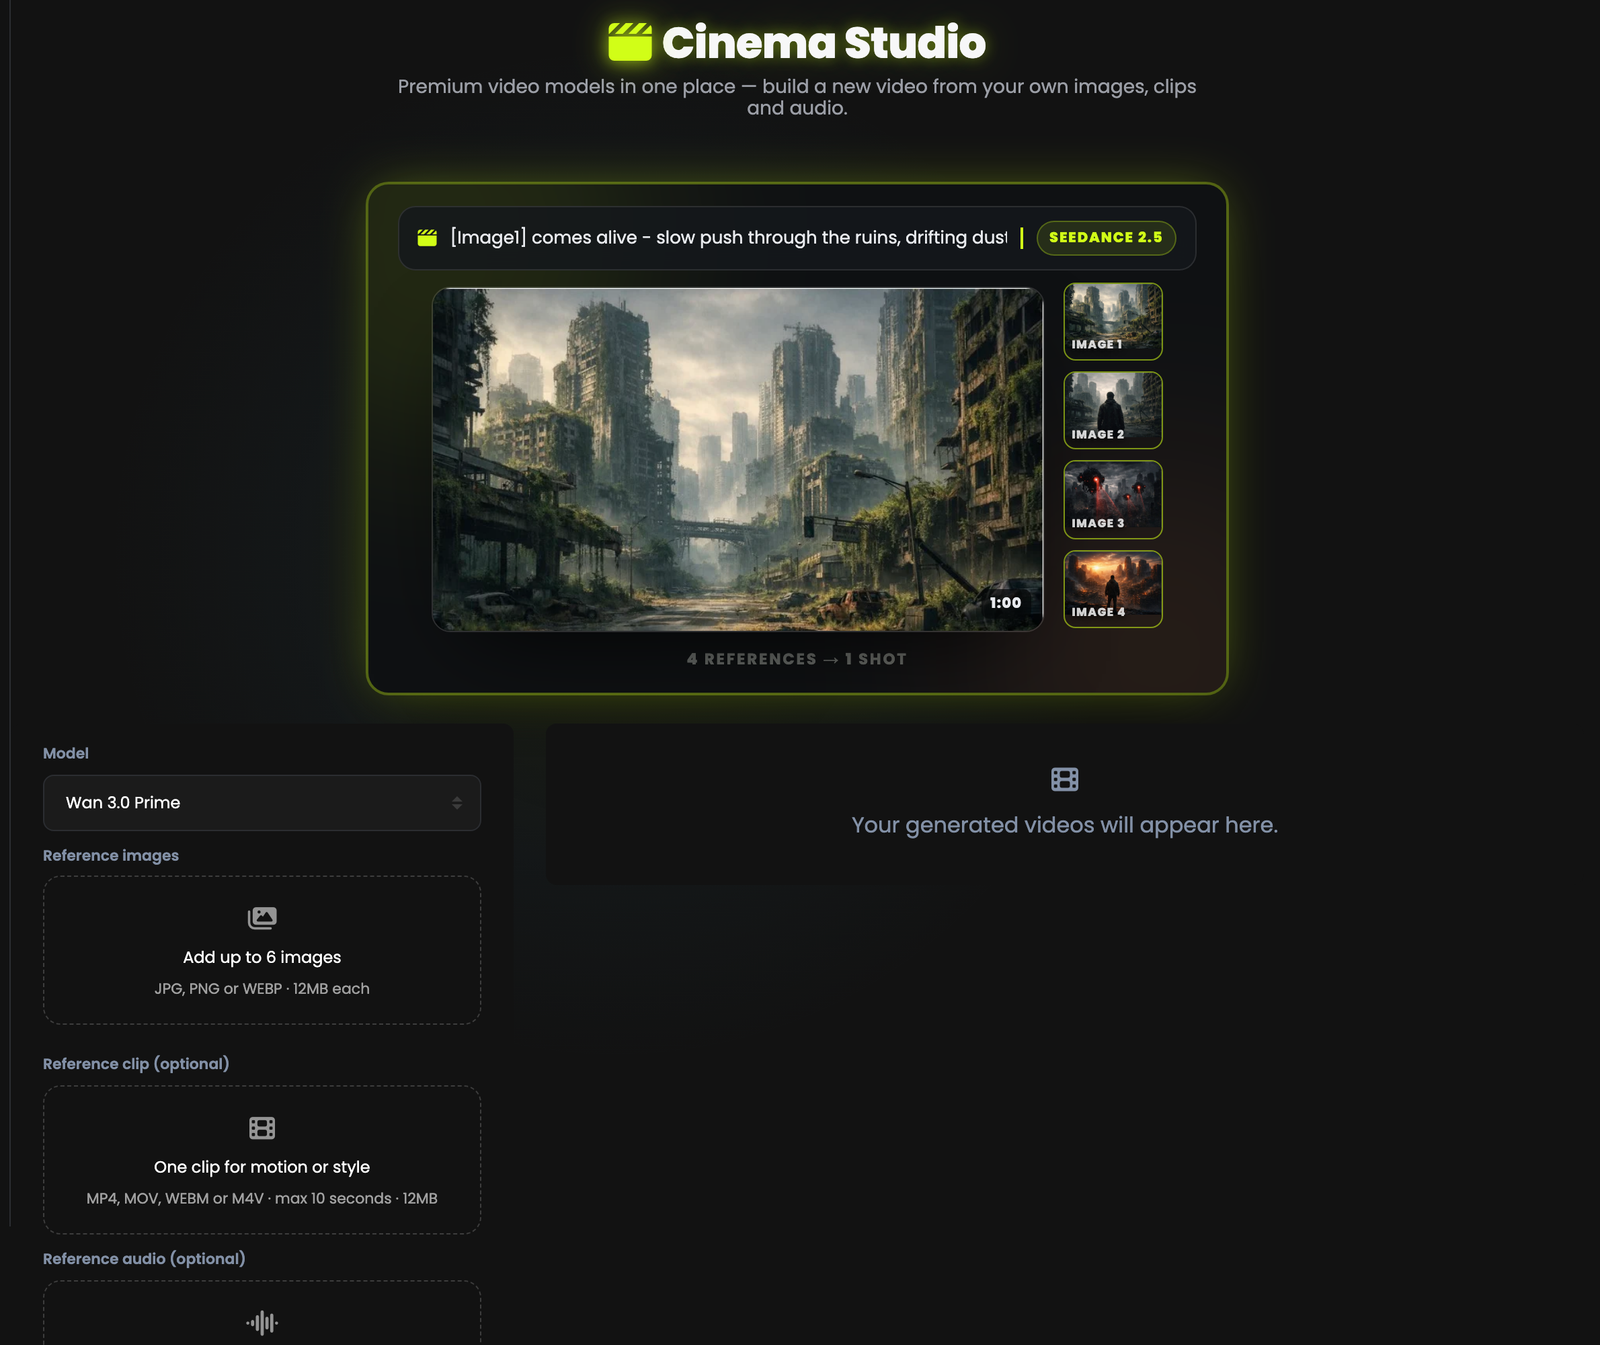
Pick the model first
It is the top control because it changes what the fields below it will accept — length and resolution options differ between the two models.
Add references
Three separate drop zones: images, one clip, one audio track.
Describe the shot
The prompt box, where you refer to what you uploaded.
Settings, then the price
Length, resolution and aspect ratio. The credit cost appears just above Generate video and updates as you change things.
03 Step 1 — Add your references
What the model is allowed to look at.
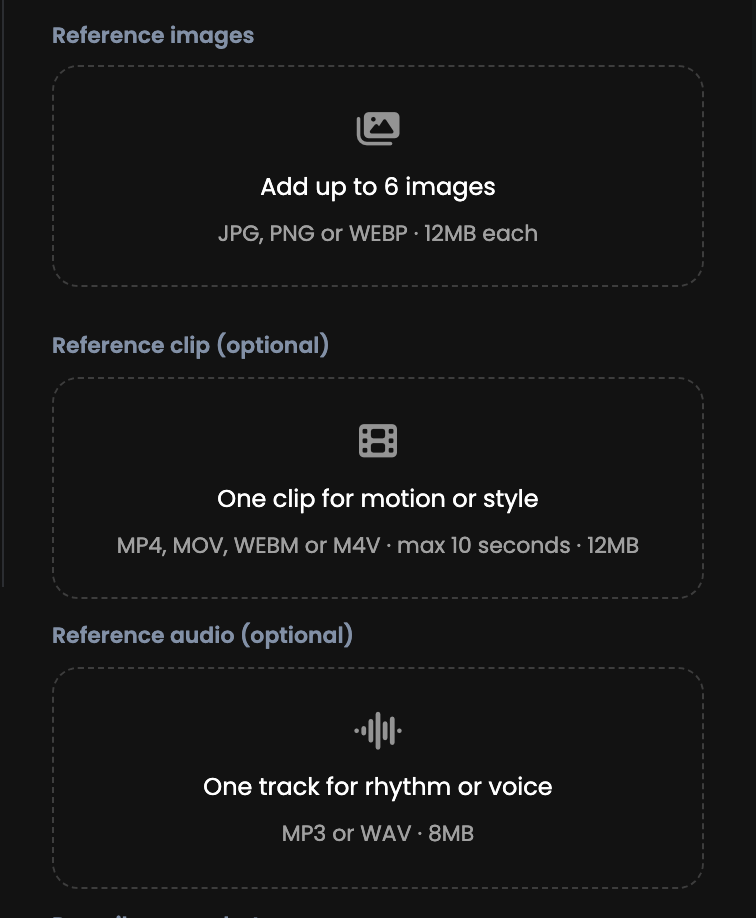
| Reference | How many | Formats | Limit |
|---|---|---|---|
| Images | Up to 6 | JPG, PNG, WEBP | 12 MB each |
| Clip optional | One | MP4, MOV, WEBM, M4V | Max 10 seconds · 12 MB |
| Audio optional | One | MP3, WAV | 8 MB |
Images — the subject
Your product from a few angles, a face, a location, a style board. Six is the ceiling, but two or three clean shots usually beat six noisy ones.
Clip — the movement
One clip, ten seconds maximum. Use it when you want a camera move or a visual style copied rather than described.
Audio — the timing
One track, for rhythm or voice. Useful when the cut needs to land with the beat.
04 Step 2 — Describe the shot
And point at what you uploaded.
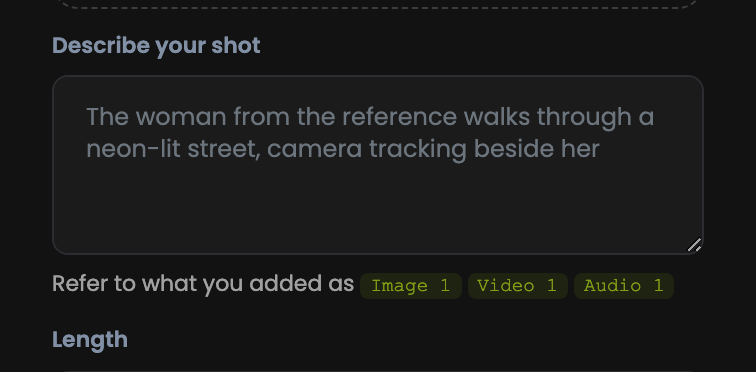
This is the part that makes Cinema Studio different from every other video tool. Your references are part of the sentence. Name them and the model knows which one you mean.
Say what happens
The action first. What is in shot, what it does.
Say how the camera moves
Push in, pull back, orbit, handheld drift, locked off. Cinema Studio is a camera, so direct it like one.
Name your references
Image 1 for the subject, Video 1 for the motion, Audio 1 for the timing. Referring to them beats describing them.
05 Step 3 — Model & settings
Length, resolution and shape.
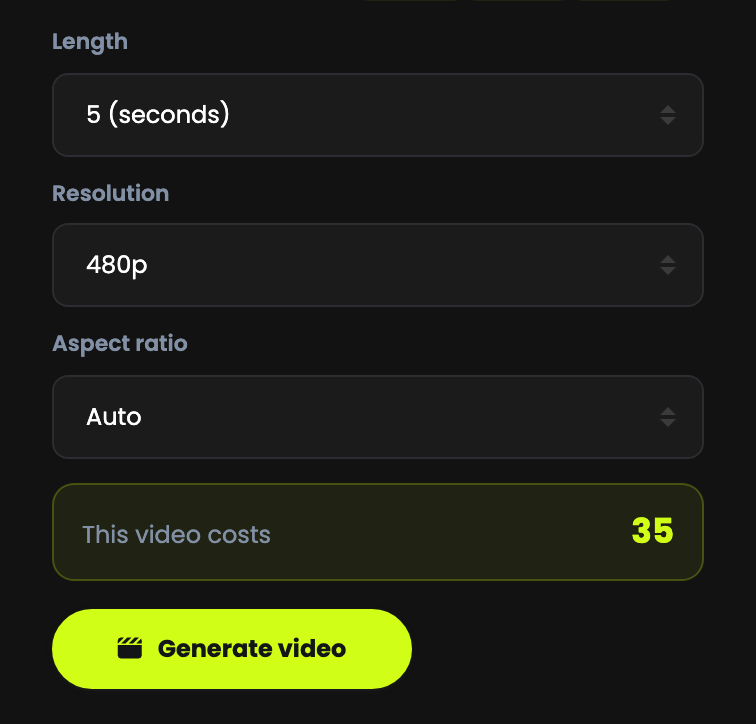
Length
How long the finished shot runs. The options you get depend on the model — see the table below.
Resolution
480p for quick tests, 720p for social, 1080p when it has to look finished. Higher resolution costs more.
Aspect ratio
Auto, 16:9, 9:16, 1:1, 4:3 and 3:4. Pick 9:16 for Reels, Shorts and TikTok; 16:9 for YouTube and websites.
Check This video costs before you click
It updates live. As a reference point, the opening defaults — Wan 3.0 Prime, 5 seconds, 480p, Auto — come to 35 media credits. Jumping to 1080p, or from 5 seconds to 30, changes that substantially.
06 The two models compared
They are not interchangeable — the limits differ.
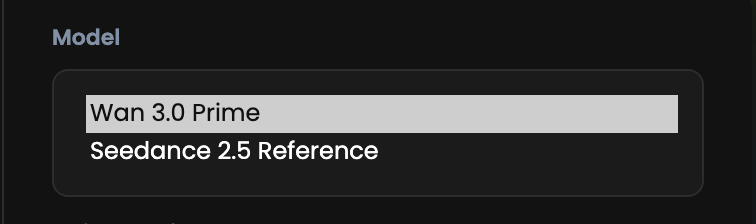
| Model | Lengths | Resolutions | Best for |
|---|---|---|---|
| Wan 3.0 Prime | 5, 10, 15, 20, 30 seconds | 480p, 720p, 1080p | Longer shots, and anything that has to be delivered at 1080p |
| Seedance 2.5 Reference | 5, 10 seconds | 480p, 720p | Short, punchy social cuts where you want Seedance's look |
New models are added to QynTro as the AI companies release them, and they appear in this list automatically — at no extra cost on your plan.
07 Step 4 — Generate
And what happens while you wait.
Press Generate video
Credits are taken for the render.
You do not have to wait on the page
Rendering takes a few minutes. Go and do something else — the result is waiting when you come back.
Play, download, keep
Finished shots stay in your account and in Documents, subject to your plan's retention period.
08 Prompting recipes
Four patterns that work. Swap in your own subject.
Product hero, from your own photos
Copy the camera move from a clip you like
Cut to your audio
Style transfer
One idea per shot
A 10-second clip holds one action and one camera move. Two ideas in one prompt produce a muddle.
Name the reference instead of describing it
"The bottle from Image 1" is precise. "A green glass bottle" invites the model to invent a different one.
Direct the camera explicitly
Push in, pull out, orbit, crane up, locked off, handheld. Without direction you get a static shot.
09 Troubleshooting & FAQ
My reference clip will not upload
It is longer than 10 seconds, over 12 MB, or not MP4, MOV, WEBM or M4V. Trim it and try again.
The length I want has disappeared
You are on Seedance 2.5 Reference, which stops at 10 seconds. Switch to Wan 3.0 Prime for 15, 20 or 30.
1080p is not offered
Same reason — 1080p is Wan 3.0 Prime only.
The result ignored my image
You probably described the subject instead of naming it. Refer to Image 1 directly in the prompt.
Can I upload more than six images?
No — six is the maximum. Choose the clearest ones; quality beats quantity here.
Do I need all three reference types?
No. Any one of them is enough to start.
Whose images am I allowed to use?
Your own, or material you have the rights to. Do not upload photographs of celebrities or of people who have not agreed to appear — the same rule that applies in AI Avatar applies here.
How much does a shot cost?
The This video costs panel shows the exact figure before you commit, and it moves with model, length and resolution. The cheapest combination on the shortest length is where to start.